The netgear wifi extender login process allows you to easily access and manage your extender settings. Using mywifiext login, mywifiext.net login, or www.mywifiext.net login, you can set up and control your network in just a few steps.
A common question users ask is whether it is really necessary to change the default password of a Netgear range extender. The answer is simple-yes, it is absolutely necessary. Keeping the default password is unsafe and can create serious problems later. By replacing it with a strong, personalized password, you can significantly improve the security of your home network.
Many users are unaware that anyone can potentially access their network by guessing the default password of a Netgear extender. This creates a major security risk. If someone gains access, they can enter your home network, modify router settings, access or transfer personal data if device sharing is enabled, block you from the network, and perform other malicious activities without your knowledge.
For this reason, changing your network password is a smart and essential step. The process is simple and can be done by visiting mywifext.net. It does not require technical expertise-anyone can complete it by following the correct steps. If you need assistance, expert technicians are available to provide support at any time.
You may also wonder what an SSID is. SSID stands for Service Set Identifier and refers to the name of a wireless network. Many manufacturers, including Netgear, use generic SSID names for their devices, which is another reason why default passwords do not provide adequate security.
Congratulations! Your password has been successfully changed. If you still face any technical difficulties, feel free to contact our Netgear expert support team for assistance.
If you’re looking for a step-by-step guide to log in to your WiFi extender, follow the simple instructions below:
If you have forgotten your default Netgear login username or password, refer to the related support article for assistance.
Congratulations! You have successfully logged in. If you continue to experience any issues, feel free to contact our expert technicians for help.
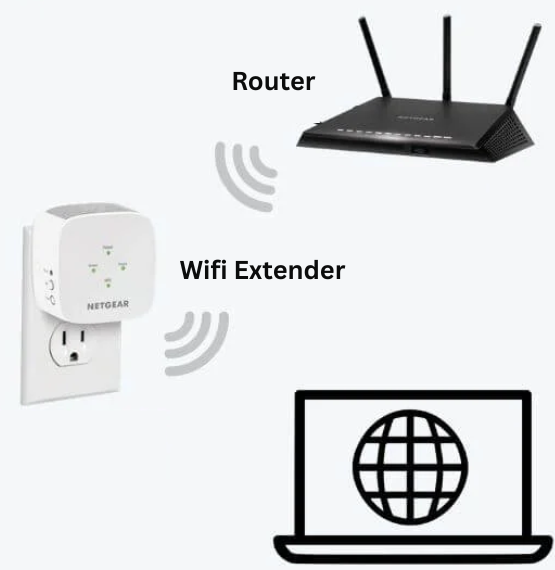
Modern WiFi extenders are designed to be user-friendly and easy to set up. However, choosing the right location for the extender is essential. If you already use a router or WiFi network at home or in the office, you may be familiar with areas where the signal is weak or unavailable.
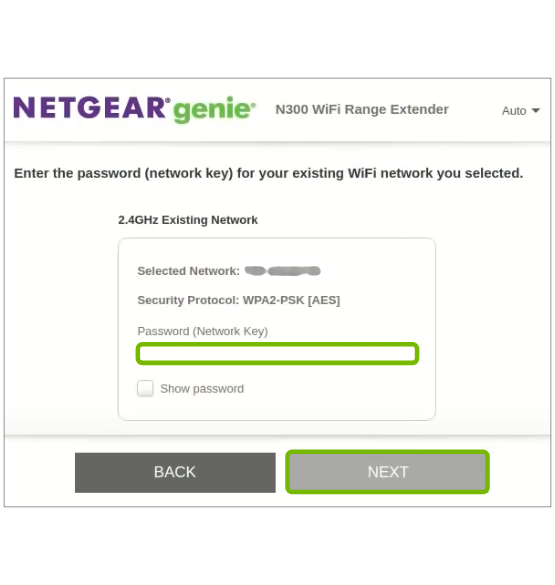
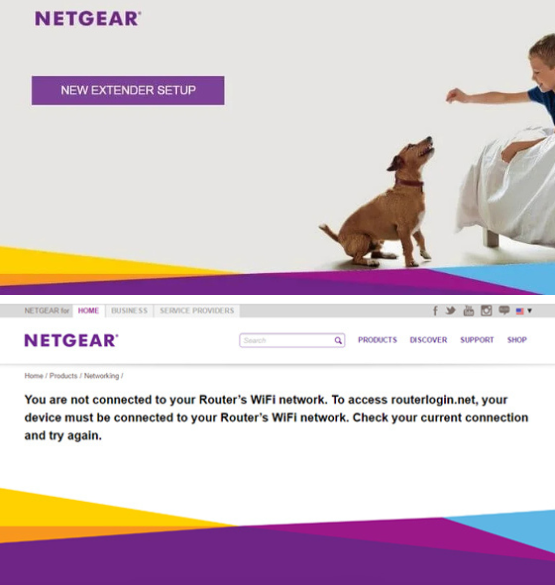
To begin, factory reset your extender by pressing and holding the reset button for at least 7 seconds. Next, open the WiFi settings on your device or computer and connect to your primary WiFi network. Then, open a web browser and type mywifiext.net in the address bar. If you encounter an error such as “cannot connect to mywifiext.com,” you can contact a Netgear expert for assistance.
Once the login page appears, enter your login credentials and click Login. After logging in, reconnect your extender to your home WiFi network. The setup is now complete.
You can now connect your devices to the extender and enjoy a smooth, uninterrupted internet experience. For a fast, reliable, and secure network, follow these steps carefully. If the issue persists or you need additional support, reach out to Netgear experts for quick and reliable help through their toll-free support service.
If you’re looking for a simple way to reset your Netgear extender using the reset button, you’ve come to the right place. Just follow the steps below:
That’s it! Your Netgear extender has now been restored to its factory default settings. For a detailed step-by-step guide on performing a Netgear extender factory reset, refer to this article. If you experience any issues or have questions, feel free to contact our experts for assistance.